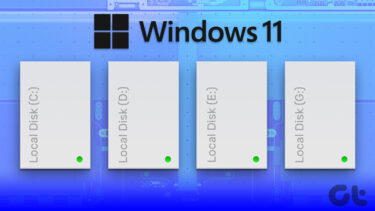
It is always advisable to create more than one data partition on Windows systems for a variety of reasons. Like, if your main OS partition gets corrupted, you’d loose every single data on your computer if there’s only one partition. Also, there’s no way to copy data from one partition to another when there’s only one partition, which is something you might need to do while doing troubleshooting tasks. (Image Credit: Cambridge Cat) Hence it is recommended to use at least two data partitions (you may use more than that though). One for the system, the drive which acts as the primary drive with Windows and other programs installed on it, and the other partition for your data like music, movies and photos. Though Windows provides an inbuilt Disk Management service that lets you shrink and extend partitions, it’s very limited in its approach. First of all, the partition side has some threshold limitation above which you cannot extend it. Furthermore, if you have data on the two partitions you are trying to merge, the tool fails miserably. So, today I will show you how you can use Easeus Partition Manager to manage the partitions . A question may pop up in your mind as to why this tool. The reason – it’s free to use for a home user without any limitation and even an amateur can use it effectively owing to its easy to understand interface.
Using Easeus Partition Manager
Step 1: Download and install the program. After that, launch it with admin privileges. On the welcome screen click on the option, go to the main screen to launch the program interface. Step 2: The program interface will load up displaying all the partitions of your hard disk in the center and the operations you can perform all around them. So let’s say you want to resize a partition. Right-click on the drive you want to resize from the list of partitions on the program and select the respective option. Step 3: You can now simply slide and resize your partition, or you could provide a precise value you want to resize to. Having done that, Easeus will queue up the task in pending list and you can continue to make changes to other partitions like merging, changing drive letter, etc. Step 4: Once you have queued all the changes you want to make, click on the apply button. The program will then start working on all the tasks, and you may have to reboot the computer if the tool demands so.
Conclusion
That’s all, just select the option from the right-click menu and process the queue. Always remember to backup data to an external drive just in case. We wouldn’t want to be blamed for any loss of your data in the process you know. I am sure, Easeus will take away all your fear of working on drive partitions. What do you think? The above article may contain affiliate links which help support Guiding Tech. However, it does not affect our editorial integrity. The content remains unbiased and authentic.