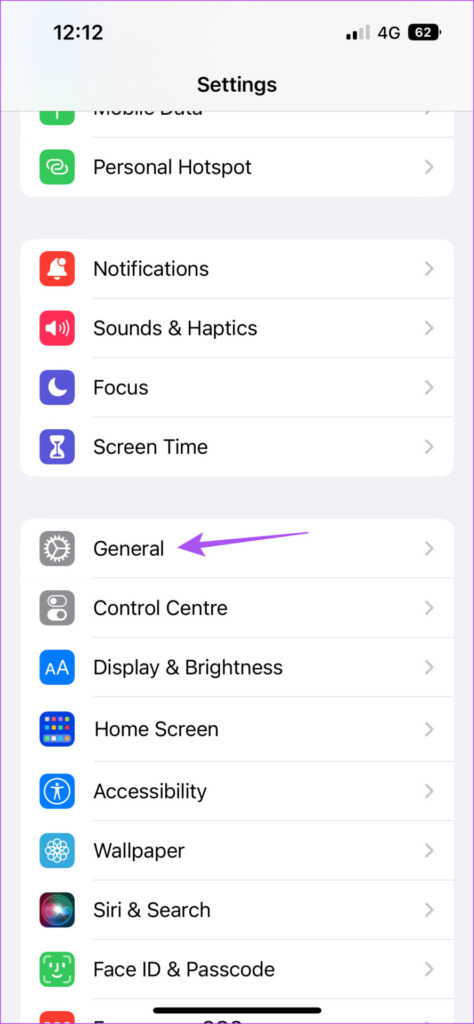
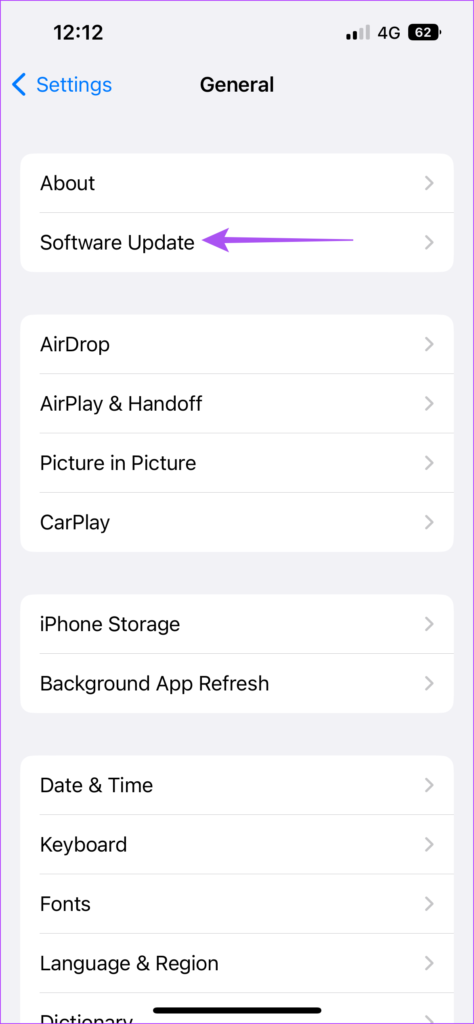
This post will show you two ways to display File Extensions in the Files app. These steps apply to iPhone and iPad users. Ensure that your devices run at least iOS 16 and iPadOS 16 or above, respectively. Here’s how to check for a software update to install the latest version on your iPhone or iPad. Step 1: Open the Settings app on your iPhone or iPad.
Step 2: Scroll down and tap on General.
Step 3: Tap on Software Update.
Step 4: If an update is available, download and install it.
Enable File Extension for a Single File
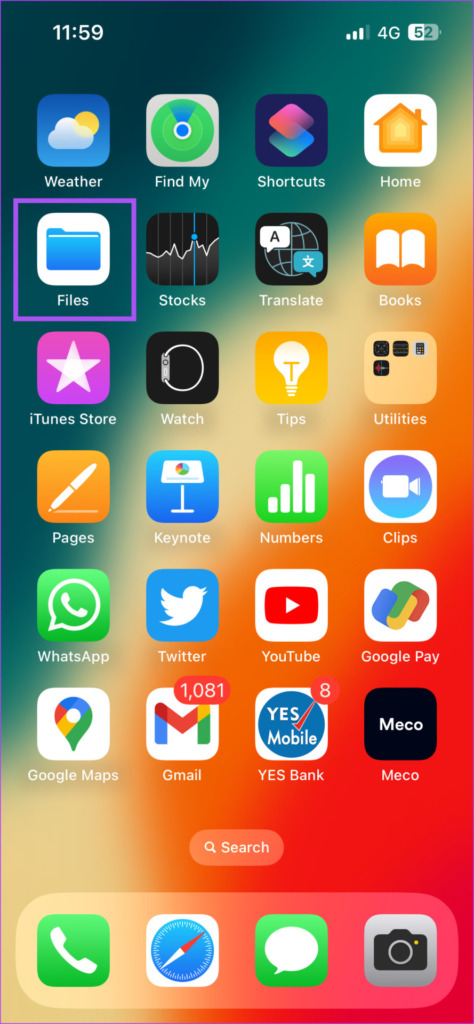
Let us first show you the steps to display the File Extension for a single file in the Files app. Checking the File Extension helps, especially during file transfer. For example, if you wish to transfer a file between your iPhone and Windows PC, you can check its File Extension and see if it is compatible with the Windows operating system. Step 1: Open the Files app on your iPhone or iPad.
Step 2: Select the location or open the folder in which your file is stored. Step 3: Long-press on the file icon to display options. Step 4: Tap on Get Info from the list of options.
The File Extension will be displayed right next to the name of the file and in the Kind field.
You can also tap on Show More to display more information depending on the file type, like Version, Pages, Security, and Resolution.
Enable File Extensions Permanently
If you want to enable the File Extensions for all your files stored across multiple locations and folders, here’s how to do it in the File app on your iPhone or iPad. Step 1: Open the Files app on your iPhone or iPad.
Step 2: Select any file location of your choice. Step 3: Tap on the three dots in the top-right corner.
Step 4: Tap on View Options at the bottom.
Step 5: Select Show All Extensions.
After this, you will see the File Extensions enabled for all your files in every location of the Files app. The change also applies to third-party storage services files stored in cloud storage apps like Google Drive and OneDrive.
How To Change File Extension
The Files app allows you to change the File Extension for a particular file on your iPhone and iPad. Here’s how you can do it. Step 1: Open the Files app on your iPhone or iPad.
Step 2: Select a file from a folder location. Step 3: Long-press on the file icon and select Rename from the list of options.
Step 4: Change the file extension to your choice and tap on Done on the keyboard.
Step 5: Tap on Use “file extension name” to confirm your choice.
The File Extension for your selected file has been changed.
How To Disable File Extensions in Files App
Here’s how you can disable File Extensions for a single file or all files in a folder. The steps are the same for both iPhone and iPad users. Step 1: Open the Files app on your iPhone or iPad.
Step 2: Select the file or folder in which you wish to disable the extensions. Step 3: Tap the three dots in the top-right corner.
Step 4: Tap on View Options at the bottom.
Step 5: Tap on Show All Extensions to disable the feature.
All the File Extensions across all storage locations in the Files app have been disabled on your iPhone or iPad.
Show File Extensions
It’s great that Apple finally added the ability to view File Extensions in the Files app for iPhone and iPad users. You don’t have to install any third-party file manager app to use this feature. Check our guide on the best ways to fix your iPhone when not backing up to iCloud if that is something you are dealing with right now. Along with that, refer our guide when the Files app is not working on your iPhone. The above article may contain affiliate links which help support Guiding Tech. However, it does not affect our editorial integrity. The content remains unbiased and authentic.


