And that’s a lot of stuff to be stuffed into one app. If you’re new, you might get confused trying to find your way around. But don’t worry, we’re here to hold your hand through the process.
Setting Up Apple Music
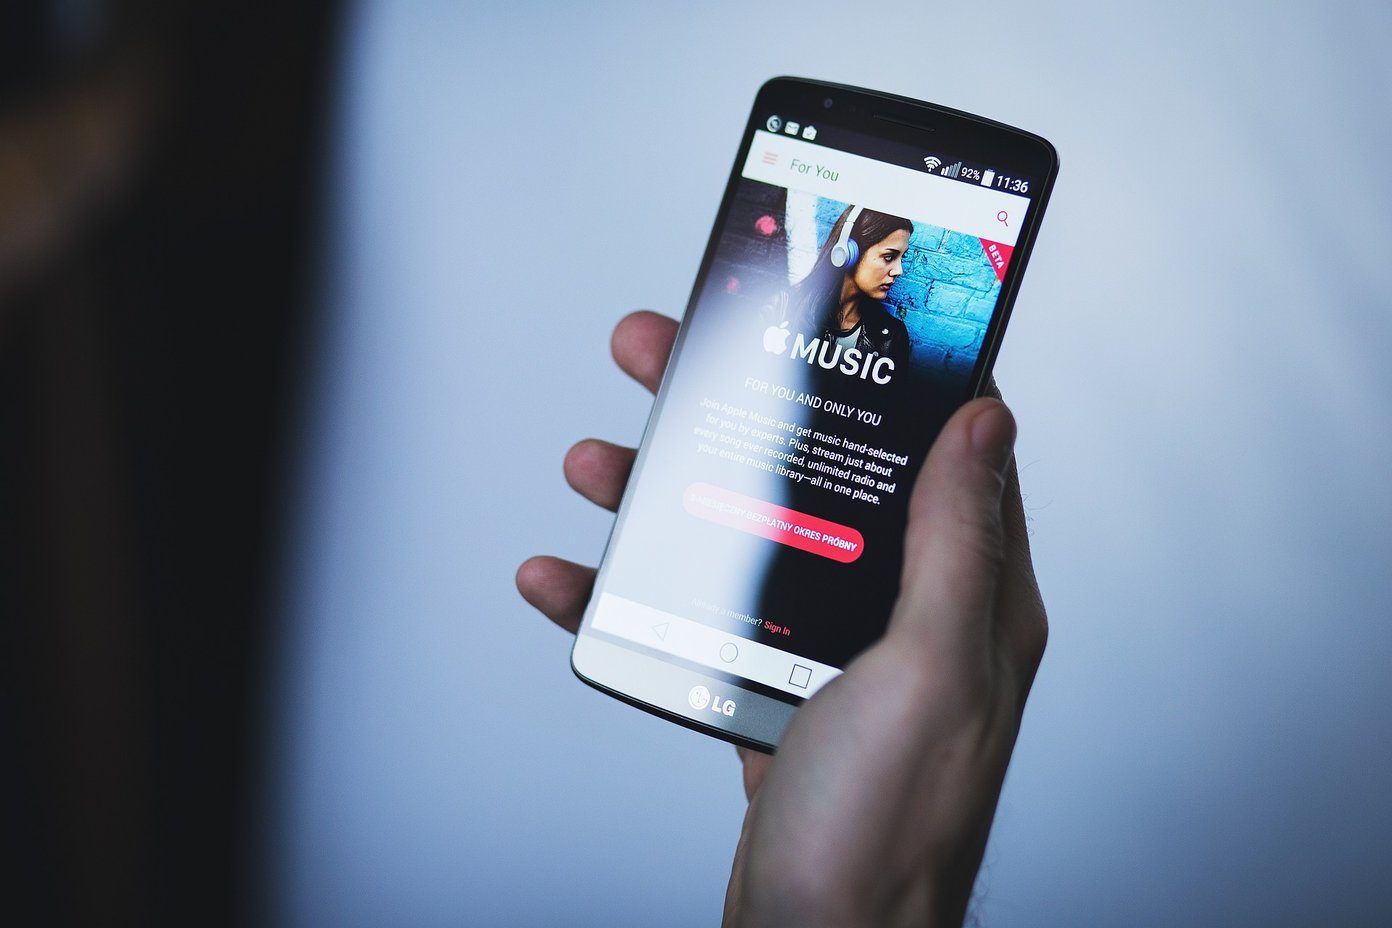
After you’ve updated your iPhone or iPad to iOS 8.4, you’ll see a new Music app with a brand new, colorful icon. On desktops, you’ll need to update iTunes to 12.2 to get access to Apple Music. When you launch the app, you’ll be greeted by an Apple Music splash screen. If you don’t get it, tap the Profile icon in the top-left and select Join Apple Music. From the splash screen, select the plan you want – individual or Family, sign in with your Apple ID, agree to the terms and you’re in. Now, Apple will ask you about the genre and types of music you’re interested in. Tap the bubbles for the kind of music you like. Tap it twice if you really like it and most importantly, remove the bubble if you don’t like that kind of music (now Apple Music won’t suggest those kind of albums to you). Next, you’ll be told to choose artists. Do the same drill, tap Done and you’re in. Now, slowly, you’ll see five tabs emerge in the bottom of the app. And based on your input and the kind of music you have in your library, Apple will populate playlists and albums in the For You section. In my experience, the For You section has been spot on. I’ve been catching up on old rock bands recently and because I selected Pink Floyd and The Rolling Stones, the first recommended playlist I got was “Best of ’60s Psychedelic Rock”. Perfect.
What Do The Tabs Mean?
My Music: This is where all the pre-update stuff lives. Your local library, the iCloud Music Library stuff, what you’ve bought from iTunes store and also the stuff you added to My Music from Apple Music. This includes all the songs, playlists and more. For You: This Apple Music’s algorithms and human editors will bring you new music based on your tastes from time to time. Just refresh this feed to find more music. Radio: Radio is where you can listen to Beats 1 live music, along with human curated playlists as well as playlists based on genres. New: This is the place to hang out if you’re looking to discover new music. It doesn’t just have to be “new” new music. You can switch between genres and check out all the new songs and albums. Plus, this is the place you’ll find awesome playlists by Apple staff and magazines like Pitchfork and more. Connect: This is Apple’s weird attempt at creating a social network for artists. This is where artists will share updates and exclusive content.
How to Make Streaming + Your Music + iCloud Music Library Work?
iCloud Music Library is similar to Apple’s iTunes Match service, but it’s integrated with Apple Music directly. Everything other than the streaming part is covered by iCloud Music Library. If you want to download songs from Apple Music for offline use, you’ll need to enable it. iCloud Music Library’s main feature is that it lets users scan all the music they currently have on the desktop/iOS devices and upload it to Apple Music. This happens in two ways. If Apple Music already has that song/album, it will be instantly added to the My Music section on all your other devices. If it doesn’t, Apple Music will upload that song and it will now live in iCloud (that is till you are subscribed to Apple Music). Depending on how large your music library is, the upload/matching process can take hours. Currently, the service will only match 25,000 songs (not including stuff you bought from iTunes) but the limit will be raised to 100,000 songs when iOS 9 comes out. If you’re only interested in the streaming part and don’t really care about having your local music on all your devices, feel free to not use iCloud Music Library. Also right now, many users are experiencing issues with iCloud Music Library, especially those who also have iTunes Match enabled. Reports include duplication, playlist errors and metadata issues including loss of album art. You can disable iCloud Music Library by going to Preferences -> General on your Mac and from Settings -> Music on your iOS devices. There’s also an option to update the library from the File -> Library menu on your Mac. Once iCloud Music Library is done updating, you should be all set. All your music should be available for streaming everywhere. And you can also download songs for offline use. Apple Music is not DRM-Free: Unlike the iTunes store and iTunes Match service, the songs you download from Apple Music are not DRM-free. That makes sense because you’re not buying them, as much as renting them till your subscription lasts. But the problem is that if you had a DRM-free song that you uploaded to Apple Music, then downloaded it again – that song has just been converted to Apple’s 256 KBPS AAC DRM’d format. This is an issue right now that we hope Apple will solve in future updates.
How To Cancel Subscription
Apple Music is free for 3 months and if you’re not sure if you want to keep paying for it (it auto-renews), there’s a way to turn off the subscription. Tap the Profile icon in the top-left, tap View Apple ID, enter your password and under Subscriptions, select Manage. Choose the Apple Music membership and turn off the Automatic Renewal switch.
To Beat or Not to Beat?
That’s pretty much all you need to know about Apple Music. Go ahead and give it a try. If you already have, let us know your first impression of Apple Music? Share with us in the comments section below. The above article may contain affiliate links which help support Guiding Tech. However, it does not affect our editorial integrity. The content remains unbiased and authentic.


